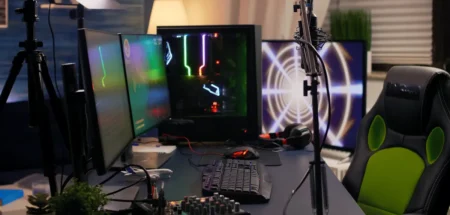
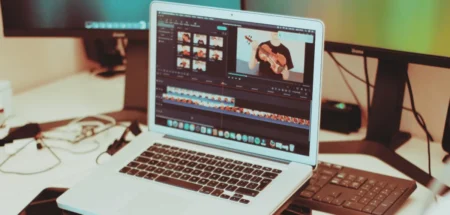
The right podcast equipment can make all the difference. It can help your podcast channel grow or even lead to a more professional sound that attracts a larger audience.
But it’s not just about putting things together. You need a solid podcast setup to make sure your audio content is top-notch. That way, your audience will keep tuning in for more episodes.
Ready to make your podcast big? This article’s for you. We’ll cover all the podcast equipment for beginners, nothing too basic or overly complicated. So, let’s jump right in!
Best Podcast Equipment for Beginners
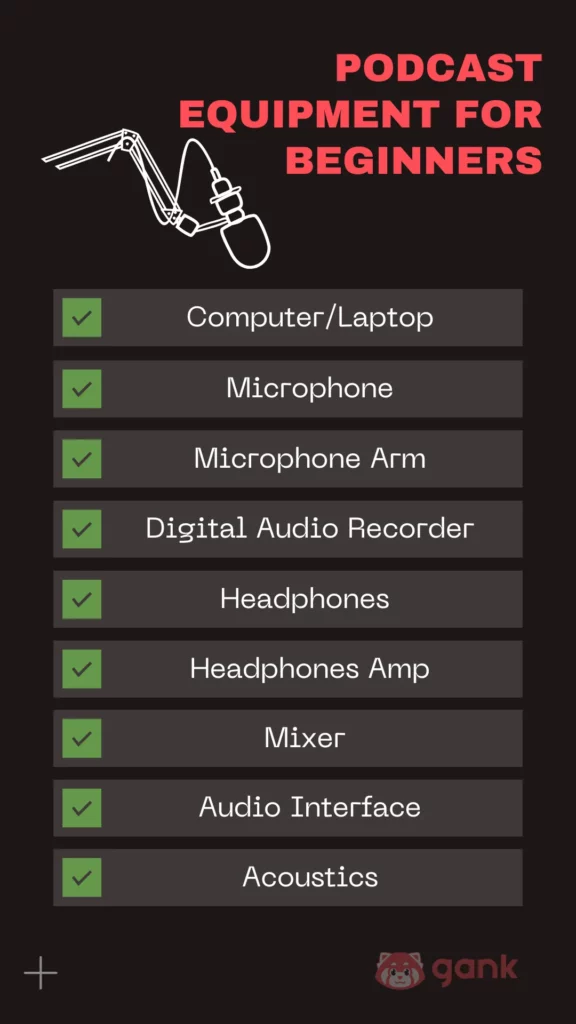
To start a podcast, here are some recommended equipment for beginners:
1. Computers
Your computer is your podcasting hub for scripting, recording, editing, and publishing. So, it needs to be reliable. Well, it doesn’t need top-of-the-line specs, but it should handle your workflow without delays.
If you need a new computer, some laptops like MacBooks, Dell XPS series, Lenovo ThinkPads, or Asus laptops can be your choice.
And for smooth multitasking and recording, go for an option with a 1 TB SSD, 16GB RAM, and enough connectors you need. Or you can use a PC like a standard streaming setup.
2. Microphone
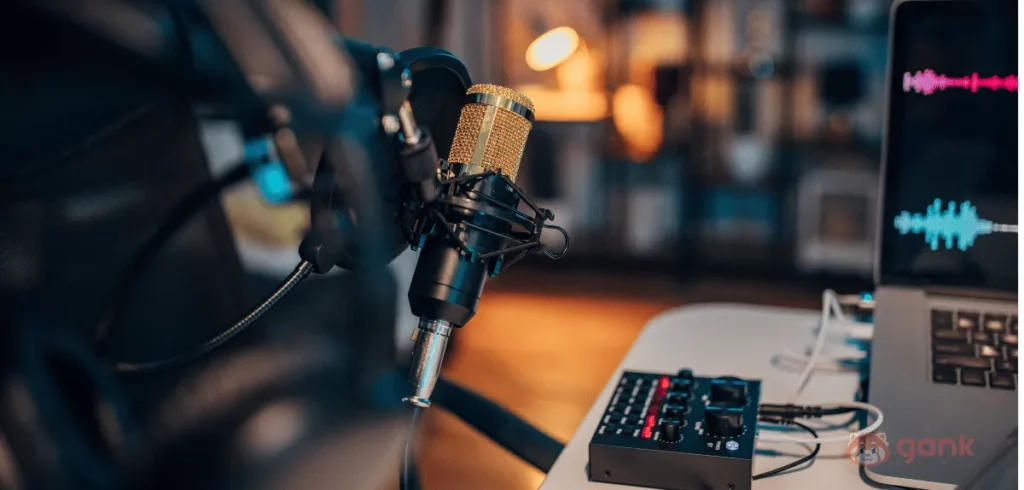
“What equipment do you need for a podcast?” As a content creator, you need a microphone for sure. This device records your voice and sound, making it one of the most important podcast equipment.
Why is it so important? Because your recorded voices are the core product of your podcast episodes.
When listeners play your podcast, they expect clear audio. If your voice is off or there’s distracting background noise, they’ll quickly lose interest and may not give you another chance.
So, if you’re looking to get a microphone as your first podcast equipment, what should you choose?
- Audio-Technica ATR2100x-USB — This microphone costs $79 to $99 and comes in USB or XLR models. We recommend the USB model for its easy setup. Its cardioid pickup pattern, capturing sound from the front, makes it ideal for podcasting.
- Blue Yeti USB Microphone — This compact microphone costs $99 to $129 and has a USB connection with multiple pickup patterns: cardioid, omnidirectional, bidirectional, and stereo for customizable performance. For solo podcasts, the cardioid setting works best.
- Rode NT-USB Mini — This affordable, compact USB microphone is priced between $99 and $109. It’s great for podcasting, with a built-in pop filter and cardioid pickup.
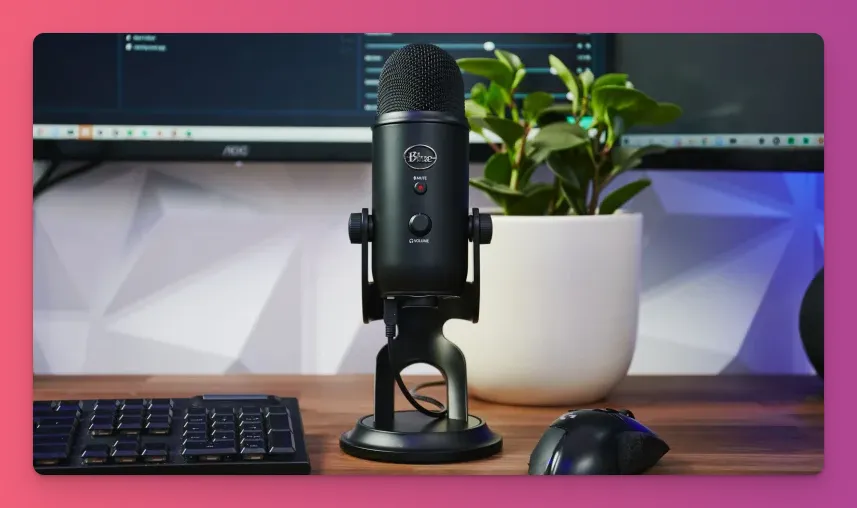
As a beginner, you don’t need expensive podcast equipment like Joe Rogan’s $300 Shure SM7B. Instead, you could use a Shure SM58 with an XLR connection.
When choosing a microphone, consider these factors:
- Price range — it’s easy to overspend on a microphone. So, set a budget for each piece of podcast equipment. For beginners, $80 to $150 is a good range.
- Type of microphone — There are USB and XLR mics. USB is convenient for quick podcast setups, while XLR is preferred by professionals for its superior audio quality.
- Pick up pattern — This determines which sounds to pick. Cardioid mics are best for solo podcasts, while omnidirectional mics capture sound from all directions, great for interviews.
- Sound quality — We recommend you focus on sound quality rather than price. Test the equipment before buying to ensure it matches your podcast’s style.
- Additional Feature — It’s great to have extra features like a mute button or gain control, especially if they don’t in cost too much.
Read Also:
3. Microphone Arm
A microphone arm is an adjustable stand for your microphone, allowing optimal sound by positioning it at the right height and angle, hands-free.
While some people think it is an optional podcasting equipment, we believe it is essential.
The stands included with microphones are often too low, forcing you to lean in uncomfortably, which also looks bad on video. Plus, holding the mic yourself introduces unwanted noise from movement.
So what’s the best podcast equipment when it comes to microphone arm?
- Neewer NW-35 — You can get this podcast equipment for around $20. It holds standard microphones up to 1.9 kg and rotates 360 degrees effortlessly. You can mount the arm with either a screw or a clamp.
- Samson MBA28 — Need an arm that reaches 28 inches? This might be just what you need. It supports mics weighing up to 2 kg, which is great for many entry-level options. You can go with a clamp mount or a flange mount for a more permanent setup.
- Rode PSA1+ — This option is a bit pricier than the previous ones, coming in at about $99. It’s often suggested for pros but still beginner-friendly. It has a horizontal reach of 32 inches and a vertical reach of 33 inches, plus the dual-axis swivel mount adds extra flexibility.
Now, how to know if you buy a good microphone arm as your podcast equipment?
- Check build quality — A sturdy arm ensures stable recording and prevents damage from accidental fall
- Range Motion — Do you need it to reach 28 or 32 inches? Look for flexibility to adjust the angle, particularly useful for interviews with various guests.
- Mounting Options — Clamps or drilling? A clamp avoids drilling and preserves your furniture, offering a cleaner look.
- Price — You don’t have to spend a lot on an arm. Even the low-cost option will get the job done.
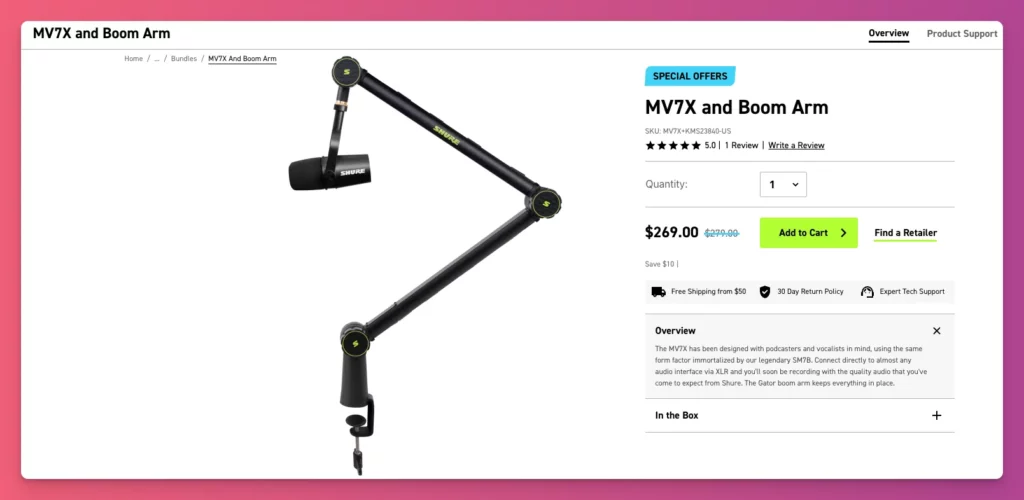
While extra accessories are nice to have, they’re rarely included. But there are sometimes bundled microphone kits offered, like the Shure MV7 with the Gator Boom Arm.
4. Digital Audio Recorder
To build your podcast channel with great recorded episodes, you need a good digital audio recorder.
Don’t forget, your podcast doesn’t need to be a live event like those on YouTube. You can opt for content that listeners can download or find on services like Apple Podcasts or Spotify.
A digital audio recorder is used to capture high-quality sound. It often equipped with features such as adjustable gain levels, multiple input options, and built-in microphones.
Here are some suggestions for this podcast equipment:
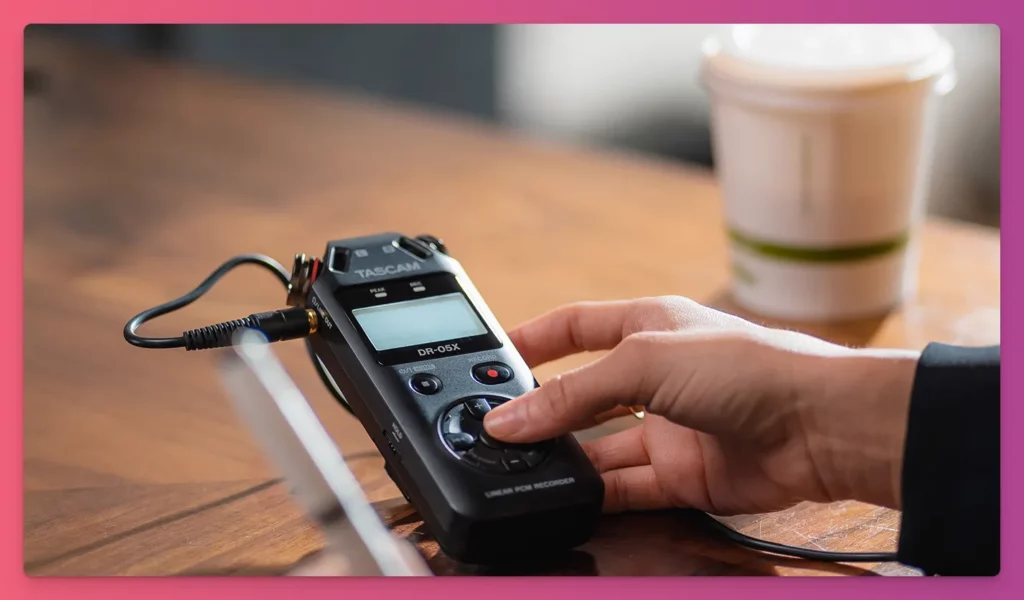
- Tascam DR-05X — You don’t have to use Joe Rogan’s TASCAM DR-100mkII. The DR-05X is also a great option. It’s compact, lightweight, records in WAV and MP3, and features an improved built-in stereo microphone, costing around $79.
- Roland R-07 — If your budget allows, the Roland product is a bit pricey at nearly $200, but it offers features like remote control, wireless listening, and multiple recording modes.
But what should I consider before buying a digital audio recorder for my podcast setup?
- Hardware or Software — While professionals often prefer hardware, software on your computer can also produce excellent results.
- Recording quality — Aim for at least 24bit/48kHz, the current standard for professional podcasting
- Multitrack recording — Look for multitrack recording capabilities, ideally two to four tracks, to record separate audio sources.
- Enough storage — Prioritize recorders with enough storage and expandable memory via SD cards for long recordings.
- Brands — Choose a recorder from trusted brands like Zoom, Tascam, or Sony to ensure high quality.
5. Headphones
Good headphones are also important for a quality podcast setup. They allow you to monitor audio quality during recording and catch distracting background noise.
Specifically, closed-back headphones ensure your voice and sound effects sound their best, especially when editing. Almost all podcaster use headphones when they record podcast sessions.
Plus, comfortable headphones make those long recording sessions much more enjoyable, allowing you to focus on creating great content.
Not only that, the right audio equipment makes your podcast sound better and more professional so listeners will want to tune in over and over.
So, what headphones you need to pick for your equipment for podcast?
- AKG K72 — These headphones deliver balanced sound and clear audio quality. You’ll hear your voice and your guests’ voices, without overpowering bass all for around $50.
- Sennheiser HD 280 Pro — Great headphones with noise cancellation and soft ear pads and sturdy built. But they deliver more bass than the AKG K72.
- Shure SRH440 — You’ll get a neutral and accurate sound profile. Its lightweight and comfort. Plus, the cable, earpads, and headband are all replaceable.
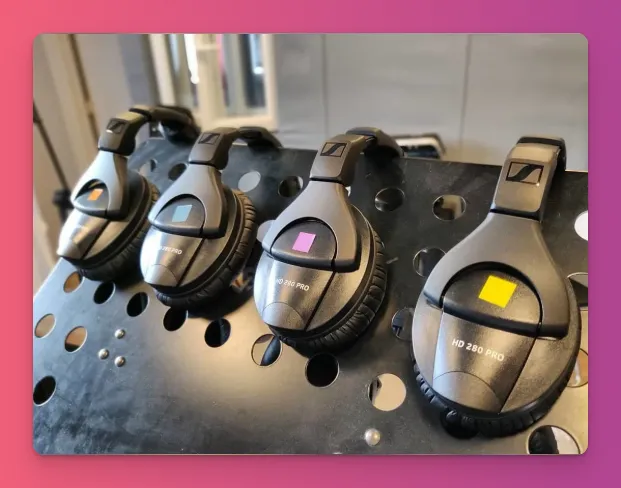
You have three fantastic headphone options for your podcast, but how do you choose the right one?
- Sound Quality — Your headphones need accurate sound reproduction, without added bass or other enhancements.
- Comfort — Choose headphones that stay comfortable even after hours of use. In-ear, on-ear, or over-the-ear? Pick what feels right for you. Also, an adjustable headband is a nice bonus.
- Noise Isolation — Closed-back headphones are better because they block outside sounds. So you can focus on your recording.
- Wired vs Wireless — Wired headphones are recommended for podcasting to prevent latency. But, if you own wireless headphones, you can use them until you upgrade to wired.
- Durability — Look for well-constructed headphones with replaceable parts like ear pads and cables.
6. Headphone Amplifier
If you’re just starting out or doing solo episodes, you can skip this podcast equipment. But if you’re looking to create a professional vibe, it’s a must-have for your setup.
Also, if you’re using headphones with less than 50 ohms, which are low impedance, you can do without this for your podcast. Why?
A headphone amplifier enhances the audio signal for your headphones. It’s especially handy for podcasting with high-quality headphones and multiple guests, allowing everyone to adjust their own volume.
But if you want to use one anyway, go for it! A solid headphone amp can really boost the clarity and detail of your audio, helping you catch those little sounds that might slip by.
Some of the best podcast equipment in this category are?
- FiiO E10K TC — At around $100, it’s a good option if your computer’s headphone output is weak or noisy. It connects via USB-C and supports various headphone impedances.
- Behringer MicroAMP HA400 — It has four separate channels, each with its own volume control. This lets multiple users use their own sound settings.
- PreSonus HP4 — This compact podcast equipment includes a stereo input with 1/4″ TRS and RCA connectors, as well as independent headphone outputs.
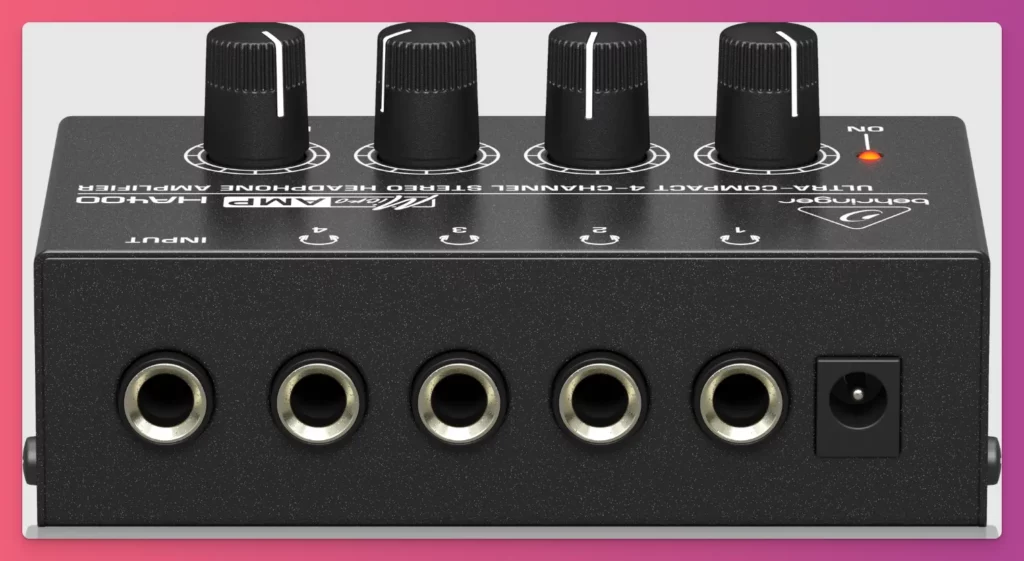
What are things to consider when you finally decide to use headphone amplifier?
- Compatibility — Using high-impedance headphones with a low-power amplifier can lead to low volume and poor sound. The impedance and sensitivity of your headphones must match.
- Power output — Make sure to choose equipment with enough power to drive your headphones. Otherwise, it won’t provide clear sound at your typical listening level.
- Connectivity — Look for a headband amplifier with compatible input and output connections for your podcast setup.
- Price — Make sure to choose equipment within your budget, as there are many decent-quality headphone amplifiers available for under $100.
7. Mixer
If you’re starting out with a basic podcast setup and just using one mic for solo episodes, you can skip the mixer for now to save some money.
But, if you plan to have guests or mix various audio sources live, investing in a mixer is a smart move. It ensures that the sound from different mics is balanced, especially when guests have different speaking styles or volumes.
A mixer allows you to adjust sound levels during recording, making everything sound polished and saving you time on editing later.
If you really want to add this equipment to your podcast setup, what should you pick?
- Behringer XENYX 802 — This mixer costs around $90, making it a budget-friendly option. It has two line inputs, which are enough for basic needs as a beginner podcaster.
- Mackie ProFX6v3 — This one is a bit pricier, costing twice as much as the Behringer. It features six channels and a built-in USB audio interface with effects like reverb and delay.
- Yamaha MG06X — Think of this option if you want something cheaper than the Mackie Pro. Are you looking for something more beginner-friendly, like Behringer?
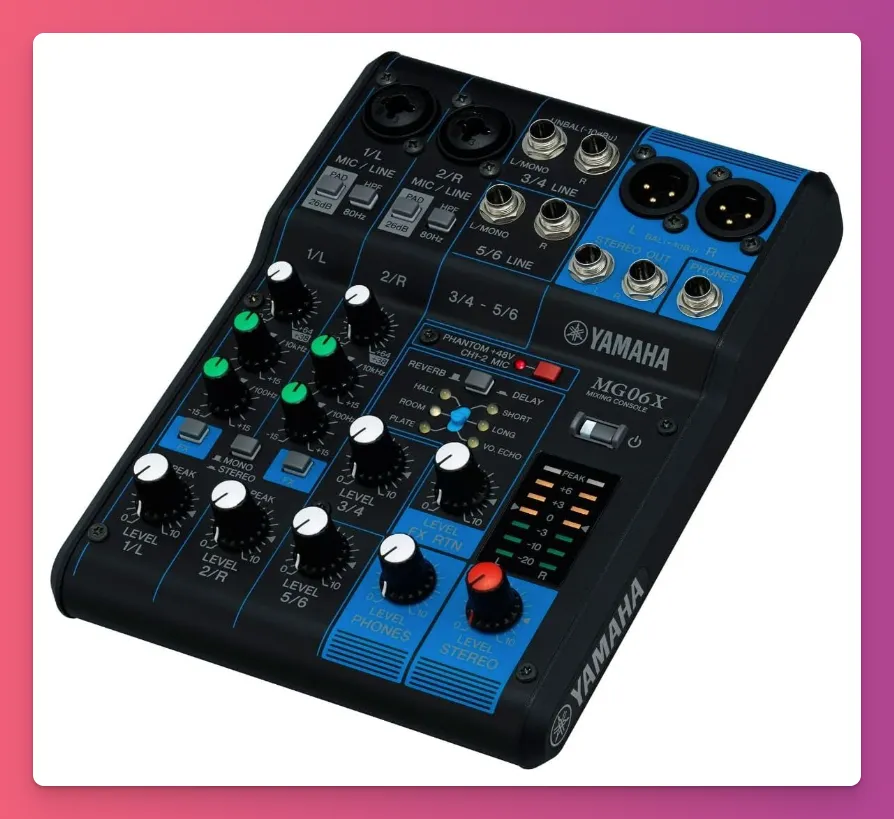
When you’re thinking about buying a mixer for your podcast equipment, here are some important things to look at:
- Ease of Use — Think about whether you want something simple like Behringer or if you’re okay with a more complex interface like Mackie.
- Effects — Consider if you need a mixer with built-in effects like equalizer settings or reverb, or if a basic one will do.
- Channels — Each audio mixer has a different number of line channels, so choose one that fits the needs of your podcast episodes.
- Price — Professional-grade mixers can get pricey, so it’s a good idea to set your budget around $200 to find a good price to value option.
Read Also: Audio Mixer for Streaming
8. Audio Interface
With a USB mic like the Rode NT-USB Mini, you probably won’t require an audio interface for your podcast. These mics connect right to your computer or laptop and often come with built-in preamps.
But, if you’re not on a USB mic or want to take your podcast sound up a notch, getting an audio interface is a great option, especially if you have the budget to grow your podcast channel.
An audio interface connects microphones and audio equipment to your computer. This allows high-quality sound capture and playback.
Here are a few audio interface options you might consider:
- Focusrite Scarlett Solo — This simple audio interface is priced around $100 to $150. It offers great sound quality and a solid microphone preamp, plus it’s easy to set up.
- PreSonus AudioBox USB 96 — If you want something compact, this is a great choice. It costs about $100, and you might find a package with Studio One DAW. It has two combo inputs: XLR/TRS.
- M-Track Solo — This is one of the most budget-friendly options, available for just $50, perfect for beginners.
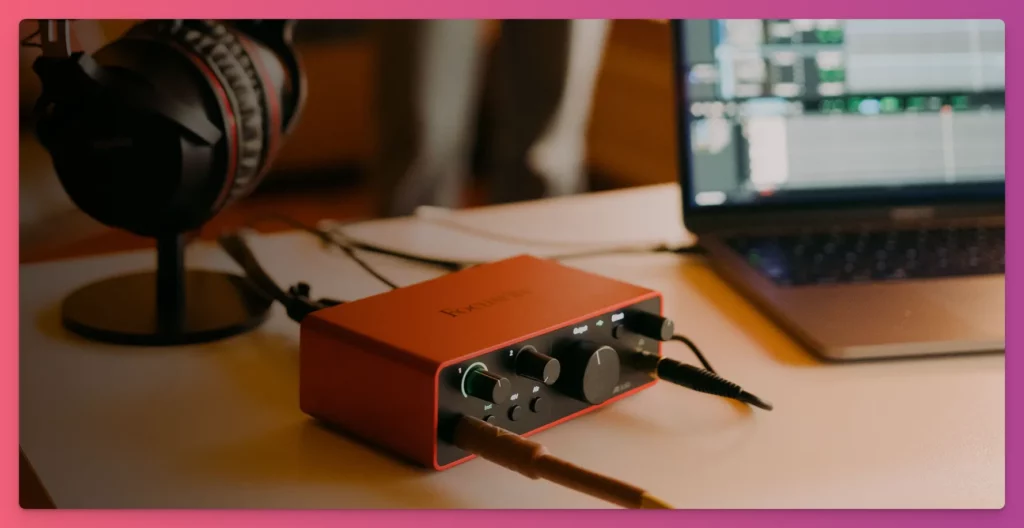
There are many more options for this podcast equipment if you want to look for it make sure that you consider this thing:
- Connection type — Choose a USB connection because it’s widely used. If possible, pick USB 3.0 for faster and better performance.
- Inputs — Make sure it has at least 2 XLR inputs for podcast interviews. Also, look for a line input so you can easily connect instruments or other audio sources.
- Preamp quality — Look for a wide gain range, ideally 60 dB or more, to accommodate different microphone types. Also, make sure the noise floor is below -100 dBu.
- Additional features — Check if it has features like direct monitoring, LED level indicators, and control software to simplify your workflow.
Related: What is Lossless Audio
9. Acoustics
Great audio doesn’t require a full-on podcast studio. What you do need is a space with decent acoustics. It’s all about reducing echoes and background noise that can mess up your sound.
Also, think about soundproofing and the size and materials of the room, like whether you have carpet or hardwood floors. Adding soft things like blankets or pillows can help soak up echoes and make the sound clearer.
You might be surprised, but a small, cozy room filled with soft stuff can actually sound better than a big, empty studio.
Why? Larger spaces create echoes by bouncing sound around, while smaller rooms with furniture absorb sound waves, making everything clearer and more pleasant.
Place your microphone near sound-absorbing materials. You can create a simple vocal booth by draping a blanket over a clothes rack or record in a closet full of clothes.
Basically it is depends on the experimentation that you can do with your room because there are no specific brands or materials that can be your podcast set up. But in general you can use:
- Put some acoustic foam panels where the sound first bounces off the walls
- Use bass traps in the corners of your room to soak up those low frequencies
- Try making your own acoustic panels with stuff like Owens Corning or Roxul Rockboard
- Wrap acoustic blankets around your furniture to help dampen the noise
Read Also: ASMR Equipment Setup
Ready to Build Your Podcast Setup?
There is no one-size-fits-all podcast setup, which is why we offer various options for beginners.
And it doesn’t mean you need to buy new equipment. You can start with what you have, like your computer, headphones, and microphone. But, as your audience grows, it’s important to upgrade your gear to meet their expectations.
And once your podcast is live, don’t forget to think about podcast monetization options like donations, selling merchandise, or partnering with brands.
The good news is that with Gank, you can explore all these monetization strategies through one membership platform. You can even sign up for free and start building your membership!


